Light it Up: 3 Easy Tasks to Maintain Your Headlights
Just because your headlights power on, doesn’t mean they are in great shape. Your headlights are a crucial safety feature that not only help you see the road, but help others to see your vehicle as well. With just a few easy maintenance tasks, you can actually help improve their performance:
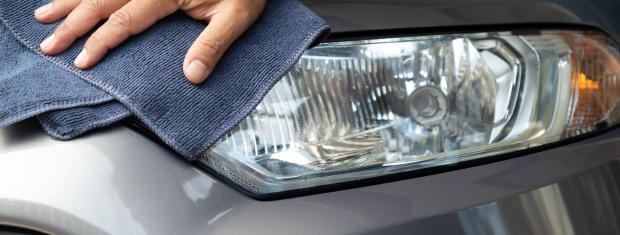
1.Cleaning Your Headlights
Are your headlight lenses (the plastic covering) on your car crystal clear, or do they look foggy and somewhat yellow? According to Popular Mechanics, most manufacturers apply a UV protective film to the exterior of headlight lenses to protect the bulbs themselves. Eventually, UV rays can damage the film, causing the lenses to appear foggy or yellow. This residue can substantially impair visibility when driving at night.
A Headlight Restoration Kit might help to clear up your headlight lenses. These kits usually involve sanding and waxing, so be sure to follow the instructions carefully for optimal results. If the residue doesn’t seem to improve, consider trying out a different restoration kit or buying replacement headlights.
2.Replacing Headlight Bulbs
Headlight bulbs will lose their intensity over time and typically need to be replaced every few years. If you notice they are starting to let off a dim lighting, it may be time to replace some of your bulbs. If you do a lot of night driving, you may consider replacing your bulbs with long-life bulbs – these last about three times longer than standard bulbs.
3.Testing & Adjusting Bulbs
Pay attention to where your lights are pointing. Over time, your headlight bulbs can become misaligned and point light too low, too high or off to one side. Some vehicles have built-in bubble levelers that can help you find the correct alignment, notes Popular Mechanics. These are typically located on the sides and top of the headlight unit. If you notice the bubbles aren’t centered on the levelers, you’ll want to adjust them.
If your vehicle doesn’t come equipped with levelers, follow these steps to aim your bulbs manually:
- Make sure your car is level. If necessary, remove any items from your vehicle (or trunk) that may be offsetting the balance.
- Pull the vehicle as close as possible to a plain-colored wall and turn on the headlights.
- Mark the center of where each light beam hits the wall with pieces of tape. Place one piece of tape horizontally and one vertically. The vertical piece of tape should be about 2 feet long.
- Back up your vehicle about 25 feet and keep the headlights on. If the bulbs are set properly, the most intense portion of the light beam should be at the center of (or right below) the horizontal piece of tape and to the right of the vertical piece of tape.
If you discover you need to adjust the headlights, locate your adjusters and move them as needed – adjusters are typically a bolt or screw located on the sides or back of your headlights. You can always reference your owner’s manual for details if you are running into trouble.
Consult with a mechanic or auto repair shop for additional advice. Remember, your headlights aren’t the only bulbs you should be checking from time to time. Be sure to maintain tail lights, brake lights and turn signals as well.